After all my years of cooking, there is something I had never made before, and frankly, it was only because the task seemed huge. I am talking of those delicious tacos that are assembled and then steamed for a while, to go on to become these soft, luscious and rich morsel that only need some toppings to become sublime.
I am talking about a specific kind of taco that is a popular breakfast dish in Mexico. Depending on where you are, they could be called Tacos Sudados, Tacos de Canasta or Tacos al Vapor. They are all steamed, but the way they are steamed may be slightly different, whether it’s in a restaurant or taco stand setting or a home preparation. These tacos are also a popular item that is sold out of large baskets on the backs of bycicles or mobile units in Mexico, a kind of ambulatory restaurant, if you will, hence the name of Tacos de Canasta, which translates to Basket Tacos. The terms Tacos Sudados or al Vapor means they are steamed or “sweated”, which only alludes to the method of cooking. Either way, these tacos are so delicious that once you try them you will want to eat them all the time.
What sets these tacos apart from every other taco is the seasoned oil. By cooking onions and garlic until they are soft, then adding some guajillo chile and then blending it makes a flavourful oil to coat the tacos. Then you fill them and stack them in a steamer or wrap them in groups in parchment and foil (to also go in the steamer) and gently cook until they are so soft and delicious that they are completely irresistible.
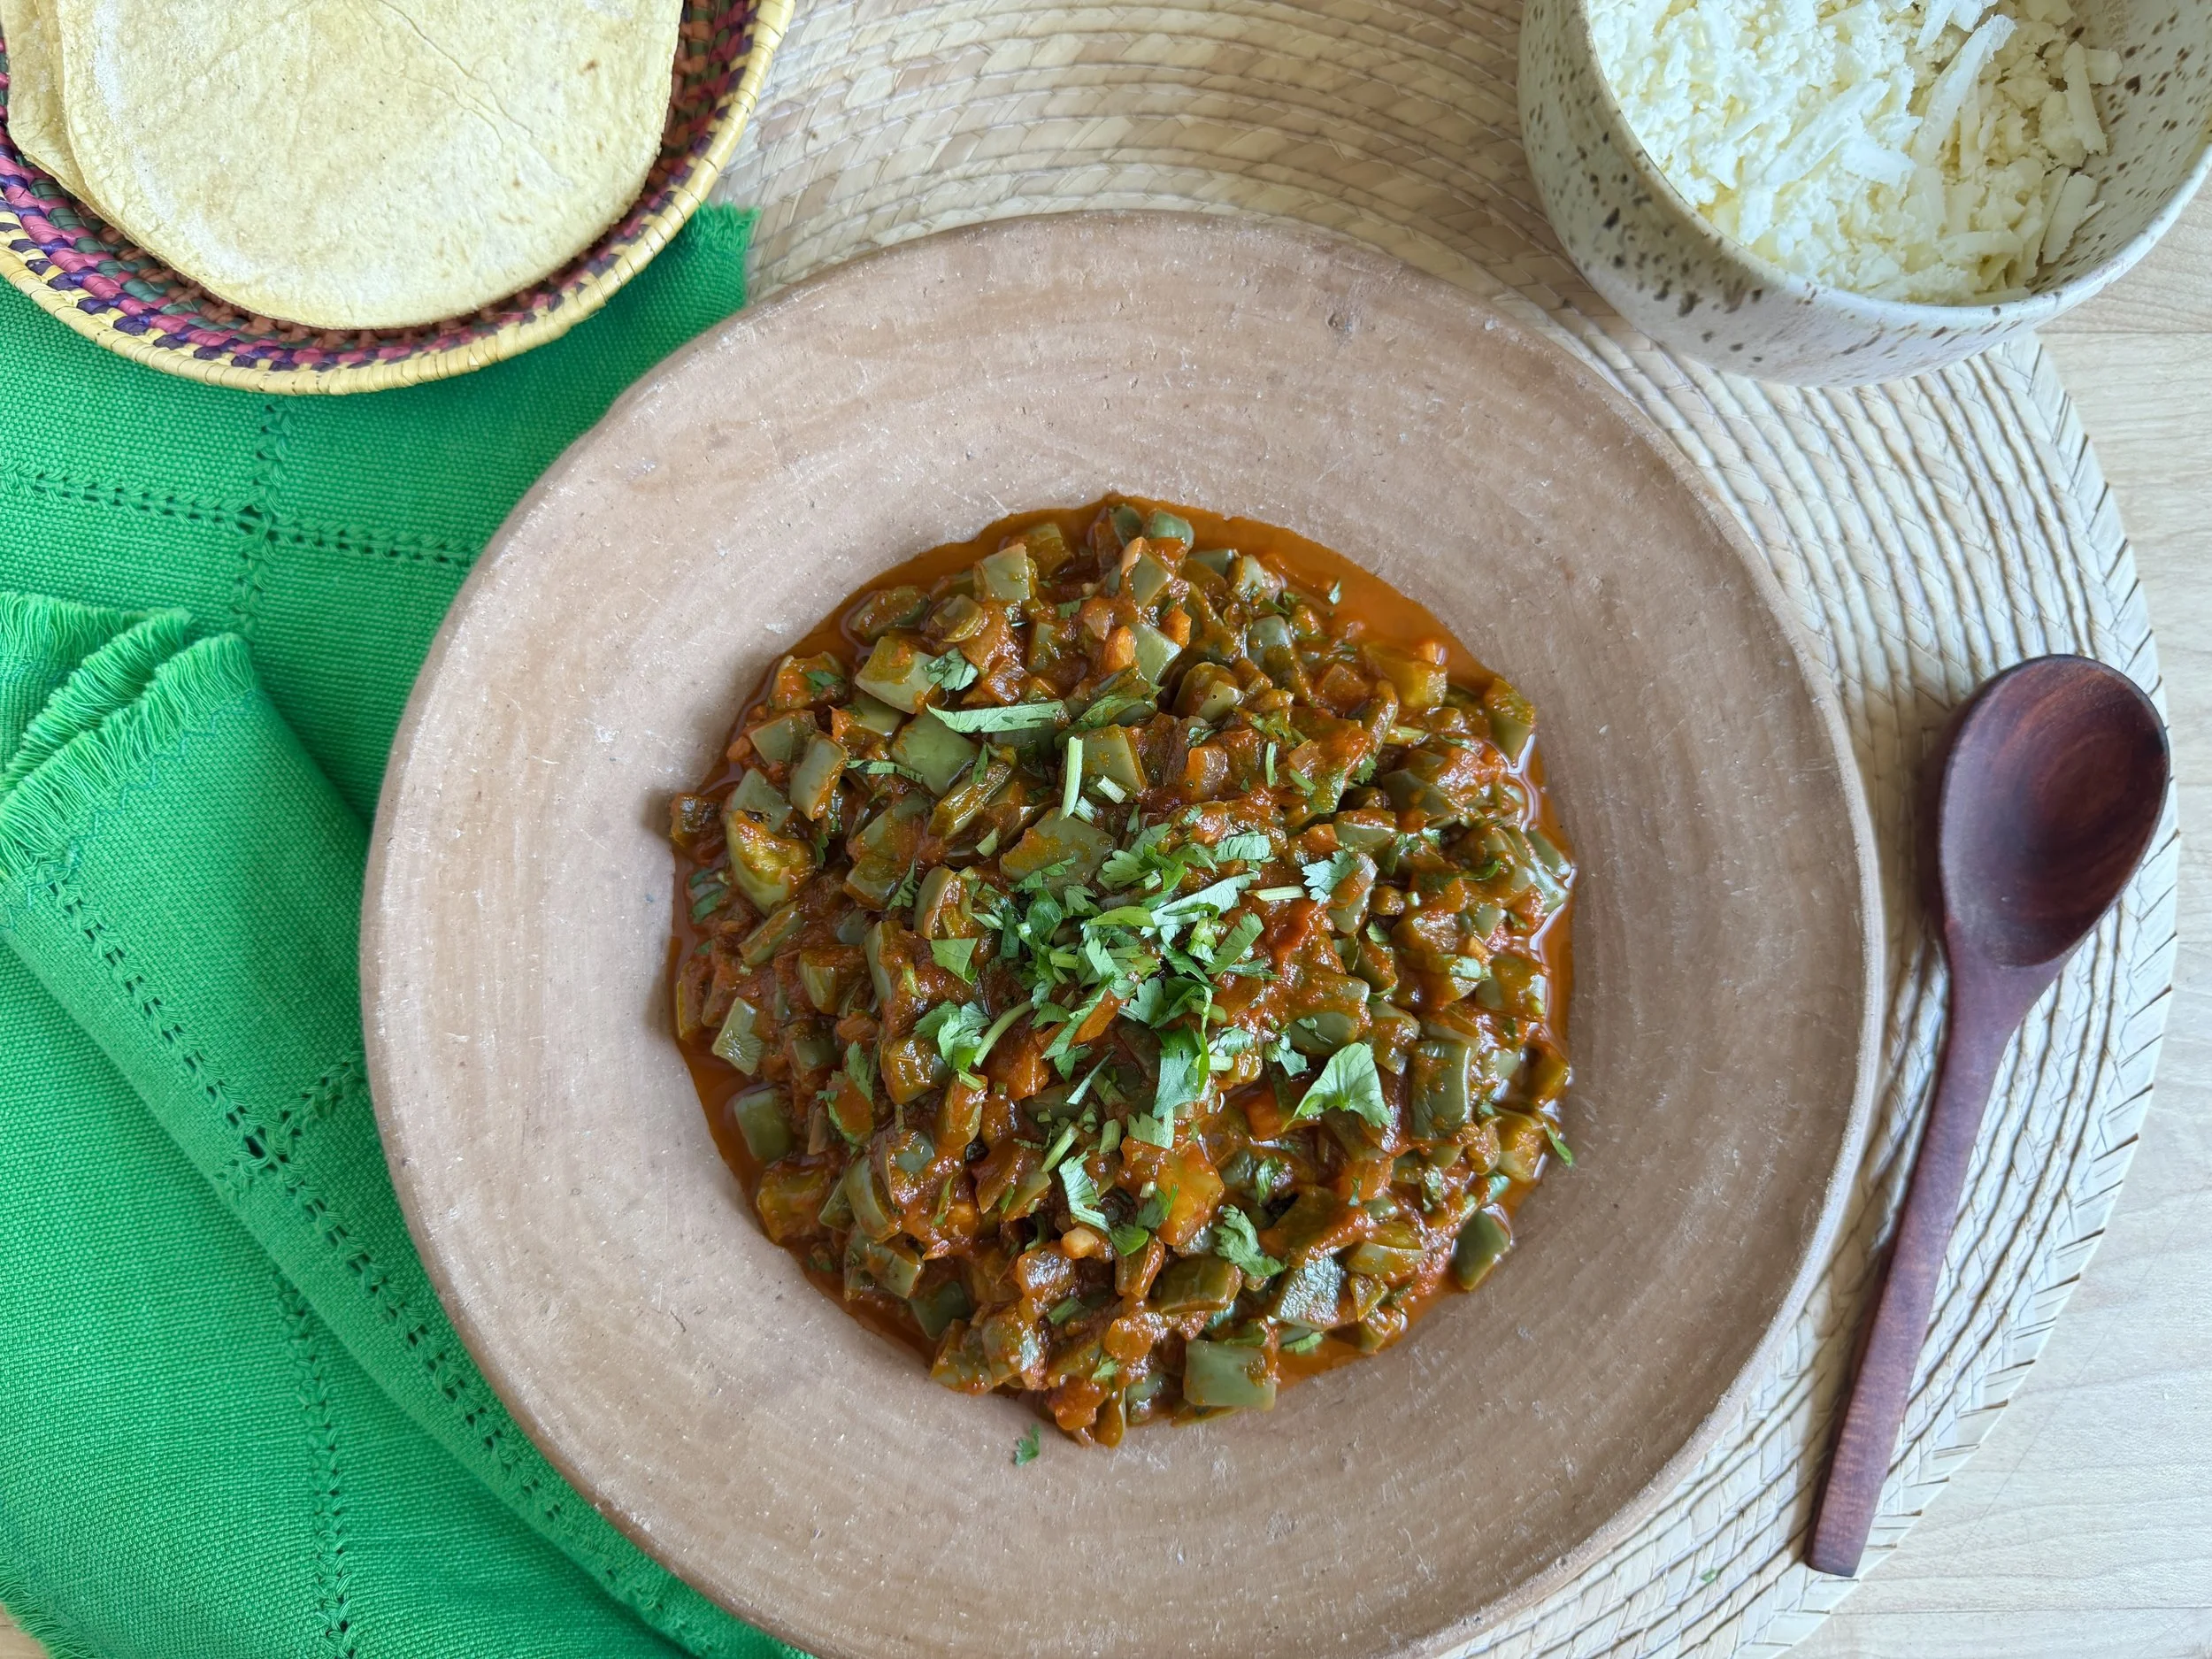
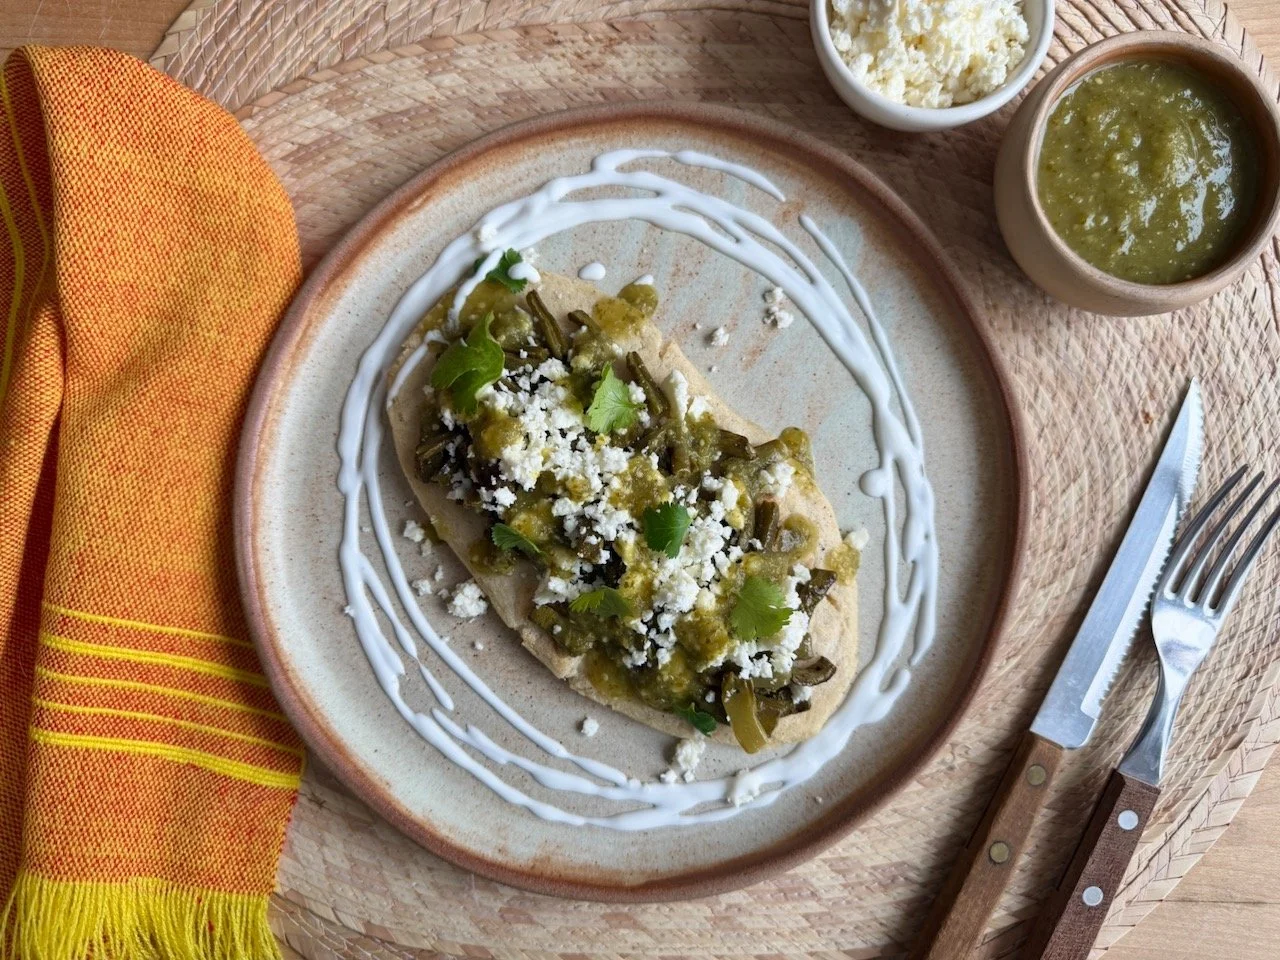
Of course, when you find these in Mexico, you will find a myriad of fillings, from the humble bean (one of the most delicious!), to picadillo, shredded beef, potato, chorizo, chicharrón, beef tongue, nopalitos, etc, etc. That is part of the amazing experience and if you find yourself in a place with these kinds of tacos, I encourage you to try many!
This brings me back to my reluctance to make them at home, since making a few different fillings and then going on to assemble and steam these tacos is an undertaking, especially if you are doing it alone. I decided to finally take the plunge and make them for my granddaughter’s fifteenth birthday brunch - and yes - it is a lot of work since I made four different flavours. But please, I don’t want to discourage you from trying these because they are worth every bit of the time it takes to put them together. My suggestion is to make only one filling and try them. I want you to savour one the most delicious tacos you will ever eat.
To make your life easier, the plan of attack is to start with a good brand of commercial tortillas, make only one filling and you will not feel overwhelmed (if you want to try different fillings, check out my recipes for refried beans, papas con chorizo, stuffed jalapeños or picadillo, you will need about 4 cups of filling to make 24 tacos). If you want to make this even more time effective, you can buy a commercial Mexican salsa, and that way you save time on that too. If you want to make these for a party, I suggest you make 3 or 4 kinds of fillings ahead of time, and enlist the help of your kids and your friends at the time of assembly. It is always so fun when family and friends work together.
I hope you give these a try, and I hope you love them as much as I do!
TACOS AL VAPOR
Steamed Tacos
Seasoned Oil:
3/4 cup avocado or vegetable oil
1 large Spanish onion
2 cloves garlic
1 tsp salt
1 large guajillo chile
Heat oil in frying pan and add onion, garlic and salt. Cook over medium low heat until completely soft and starting to get golden.
Add guajillo and cook for 2-3 minutes, then cool down completely.
Once cool, place in blender jar and process until completely smooth.
Potato Filling:
3 white potatoes, cut into 1” chunks
Salt
2 Tbsp vegetable oil
1 cup diced onion
2 garlic cloves, minced
1 jalapeño chile, minced
½ tsp Mexican oregano
¼ tsp ground cumin
3 Roma tomatoes, diced
2/3 cup grated cotija cheese
Salt to taste
In medium saucepan, place potatoes and 1 tsp salt and enough water to cover potatoes. Bring to a boil over medium high heat, then turn down and simmer, partially covered, until potatoes are tender, about 14 minutes. Drain and reserve.
In large skillet, heat vegetable oil and add onion, garlic and jalapeño chile. Cook until softened, about 5 minutes. Add cooked potatoes, Mexican oregano, cumin and tomatoes and stir to combine. Cook for 5 minutes, then using a potato masher, press on potatoes to obtain an even mixture, no huge chunks. Add cotija cheese and add any salt if needed. Keep warm.
Spicy Green Chile Salsa:
3 Tbsp avocado oil
4 Jalapeño chiles, chopped
3 cloves garlic
1 small wedge onion
½ tsp salt
¼ cup chicken broth
2/3 cup cilantro
Juice of 1 large lime
In small saucepan, heat oil over medium heat. Add Jalapeños, garlic, onion and salt. Cook for 5 minutes, and then add chicken broth. Cover and cook for 5 minutes.
Place everything in blender jar along with lime juice and cilantro and blend until completely smooth. Adjust seasoning and reserve.
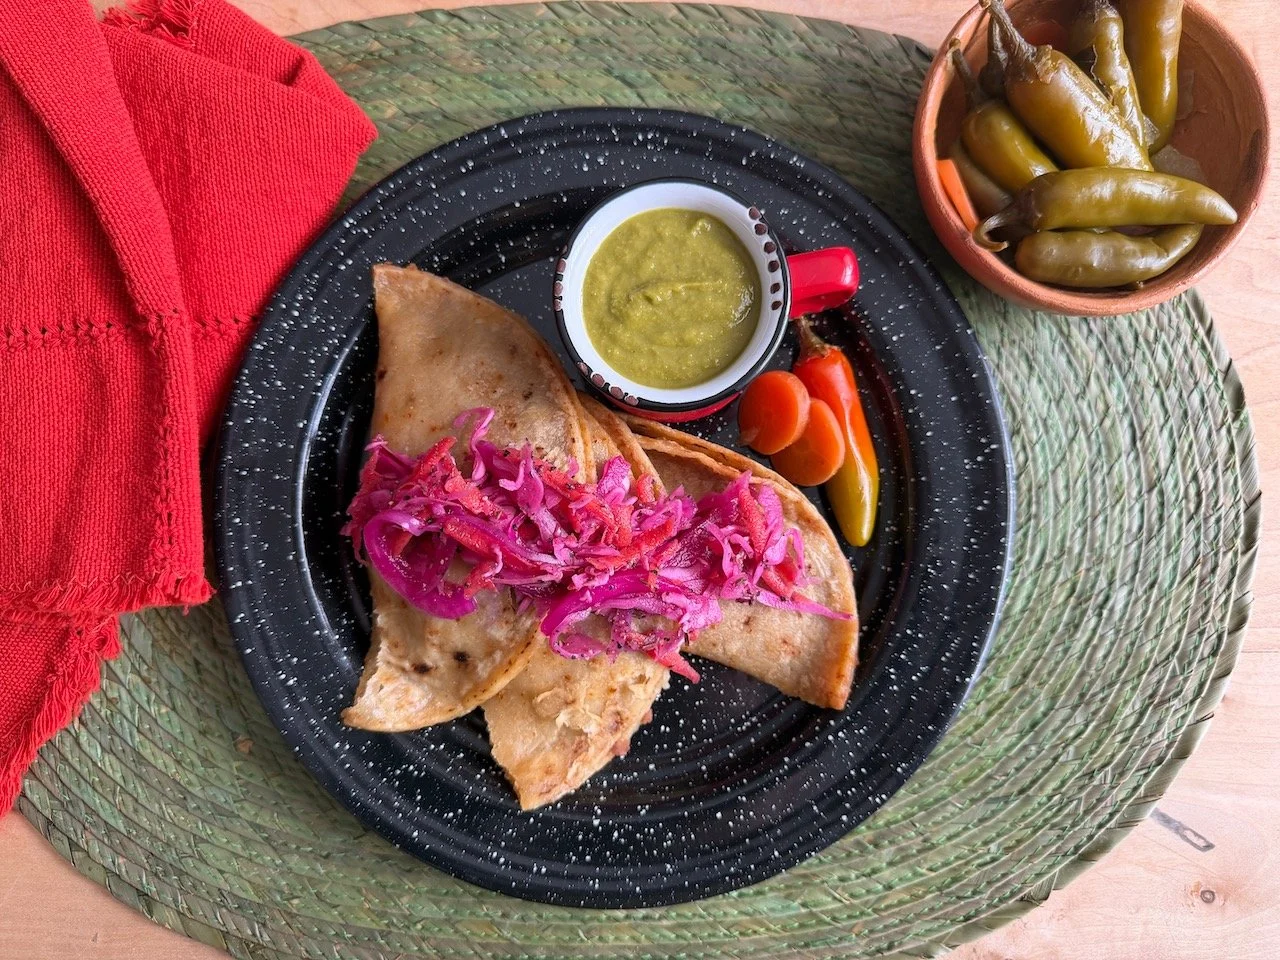
Pickled Cabbage:
8 cups finely sliced green cabbage
2 carrots, peeled and grated
1 small red onion, julienned thinly sliced
1 tsp Mexican oregano
1/3 cup white or apple cider vinegar
1/3 cup water
Salt to taste
In large bowl, combine cabbage, carrots, red onion, Mexican oregano, vinegar, water and salt to taste. Mix thoroughly and let it rest.
Tacos:
24 corn tortillas, make sure they are warm
Seasoned Oil, make sure it’s hot
Potato filling, make sure it’s hot
4 Sheets foil, 18’ x 13’
4 sheets parchment paper, 18’ x 13’
Kitchen towel
Prepare a large pot with a steamer rack. Fill with water to come up below the rack and bring to a gentle simmer. Keep covered while you assemble the tacos.
* It is imperative that everything is hot before you start assembly. Place oil in frying pan and warm up, tortillas should be warm and kept in a tea towel and the fillings should be piping hot before you start.
Using tongs, dip warm tortillas one by one in hot seasoned oil and stack them on a plate or sheet pan.
Divide filling amongst tortillas and fold in half.
Place a foil sheet in front of you and place a parchment sheet over it. Shingle 6 tacos in the middle of the parchment and fold the tops and sides as if you’re wrapping a gift, encasing tacos snugly. Continue until all tacos are filled and wrapped in foil and parchment.
Place foil packets in steamer and cover with a tea towel, then the lid. Steam for 30-40 minutes, until tacos are completely heated through.
Serve with pickled cabbage, salsa and pickled chiles.
Makes about 24 tacos.